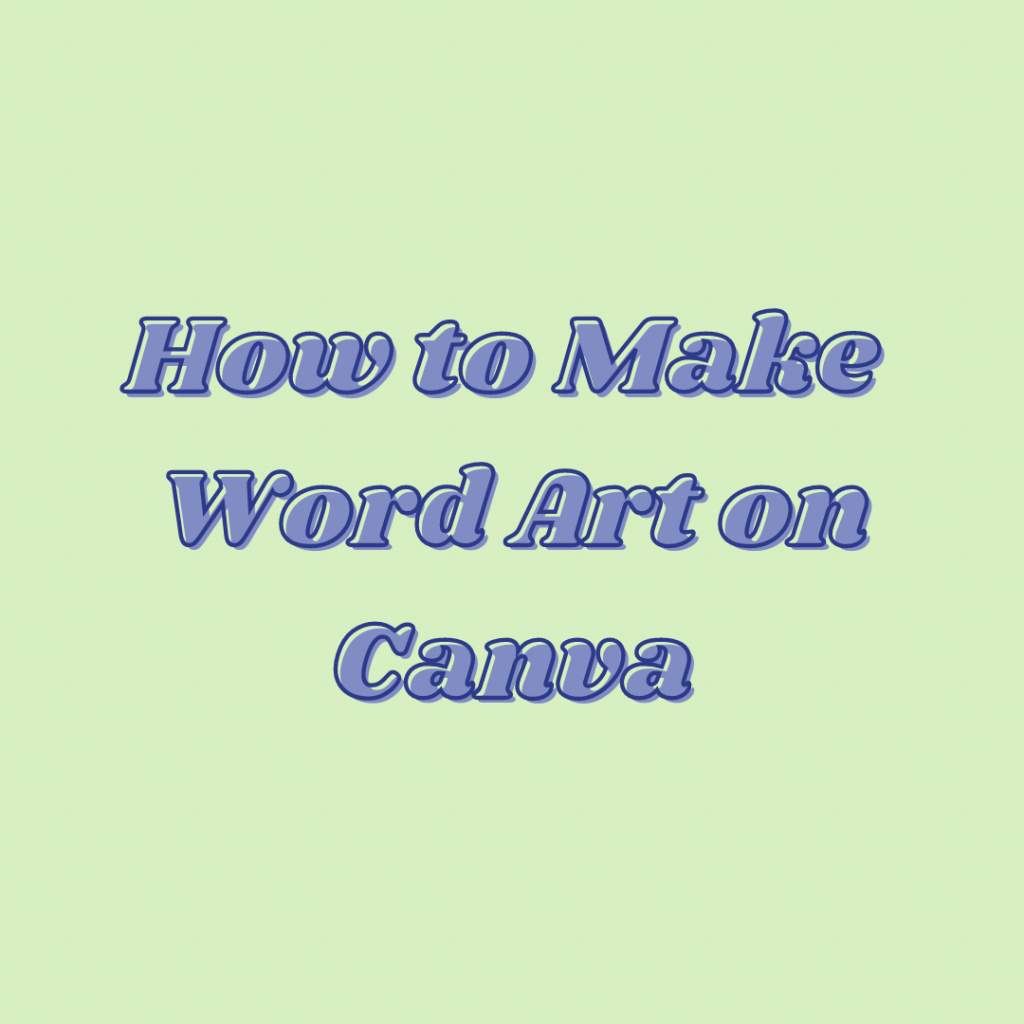
As a freelancer, I love Canva for its design tools. With Canva’s platform, I can quickly make beautiful visuals for my clients and myself with minimal effort.
Canva is equipped with a wide selection of templates that make it easy to customize designs to fit any project. Plus, the platform offers features like image cropping and resizing so I don’t have to manually do those tasks on another program.
All in all, Canva is a powerful tool that provides me with everything I need to produce visually appealing content in no time.
Making Word Art on Canva
There are a couple ways I like to make word art on Canva. I will take you through two of my favorite ways I like to go about this.
Option 1. The "Ground-Up" approach
With the ground-up approach, I start with a simple text box as a foundation. From there, I sort through the options of fonts, sizing, color, and effects, in order to create custom word art.
In the example below, I started with a simple text box. Then, I selected the Shrikhand font and increased the font size to 70pt. From there, I give the color a nice blue (#2c3b89) then add the Splice effect.
I wrap up my masterpiece with a fun background color (#d7efc1).

Option 2. The "Template" approach
This approach starts with the design first. To browse the font designs, I select the Text menu option on the left bar.
From there, I scroll down below the text bar area and see a ton of fun design templates to choose from.
Once I find a design I want to use, I select the design to bring on to my canvas. From there, I double-click the text area to switch the words.
Here is an example of word art on Canva created with the Template approach.

Summary
I hope you found these methods for making word art on Canva to be helpful. Both methods will work, but each method comes with its own benefit.
-

Experienced tech journalist and freelancer with over 10 years of experience. Developed expertise in covering tools, new technologies and industry trends.


