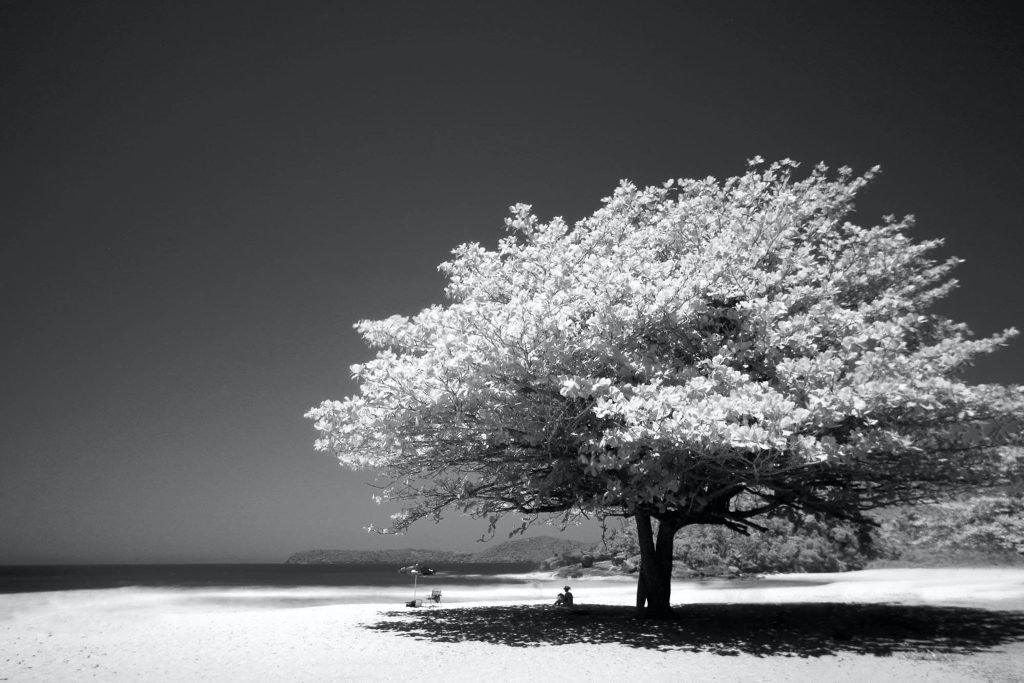
When an image is grayscaled it means that all of the color information in the image has been converted to a single channel of black, white and shades of gray.
This desaturates the photo, giving it a unique monochromatic look. Grayscale images can be used for various purposes such as enhancing focus on specific elements in an image or creating a classic and timeless feel.
Grayscale images require less memory than colored images as they are limited to one channel instead of three.

How to Grayscale a Layer in Photoshop
To grayscale a layer in Photoshop, open the image you wish to edit. Select your desired layer and then go to Image > Adjustments > Desaturate (or press Shift + Ctrl + U).
This will remove all of the color information from the layer and convert it into a single channel of black, white and shades of gray.
With the layer still selected, you can further adjust the image by using Photoshop’s Levels, Brightness/Contrast or Curves tools to fine-tune the tonal range and contrast of your grayscale layer.
When you are satisfied with your results, save the image in a file format that supports grayscale images, such as TIFF or PNG.
Alternate Method to Grayscale a Layer in Photoshop
Another way to grayscale a layer in Photoshop is to go to Image > Mode > Grayscale.
This will convert the entire image into grayscale mode, which you can then further adjust using some of the same tools mentioned above.
However, if your original file was a color image and you want to keep the option of reverting back to color, it is best to use the Desaturate method instead.
Summary
Grayscale images can be used for a variety of artistic and practical purposes.
Learning how to grayscale layers in Photoshop will help you create unique looks for your photos and adjust them exactly as desired.
You May Also Enjoy
-

Experienced tech journalist and freelancer with over 10 years of experience. Developed expertise in covering tools, new technologies and industry trends.


![How Do You Smooth Lines in Photoshop? [Answered]](https://freelancefaucet.com/wp-content/uploads/2023/04/Getting_Started_with_Adobe_Photoshop-BlogHeader.png-300x169.webp)
![How Do You Get in Contact With Wix Customer Service? [Answered]](https://freelancefaucet.com/wp-content/uploads/2023/04/Screen-Shot-2023-04-01-at-1.59.27-PM-300x126.png)


