Canva is an online design platform that includes hundreds of templates, design tools, and a library full of images, illustrations and other elements for users to create designs on.
Canva allows users to quickly and easily edit images for any project. With Canva’s tools, users can make dramatic changes or simply enhance existing images.
In this tutorial, I’m going to walk you through how to easily erase part of an image on Canva.
One of the most popular features is the ability to erase part of an image. This can be done with the Background Remover tool.
Note: In order to use the functions I will be talking about, you must be a paid subscriber. In other words, this method will not work with a free Canva plan.
Erasing part of an image on Canva
To start erasing part of an image in Canva, follow these steps:
1. Add the photo you are looking to modify

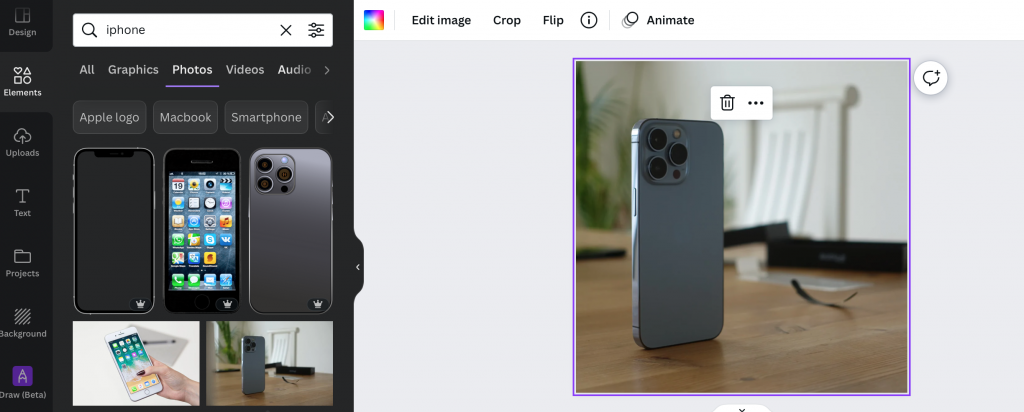
First, find the photo you are looking to erase part of. For this example, I’m going to use this picture of an iPhone on a table.
For this tutorial, the focus is going to be on erasing the background of the photo to only focus on the iPhone.
2. Click on the photo, then select Edit Image on the top menu
On Canva, you can edit any image with just a few clicks. First, make sure to click on the image on your canvas that you would like to edit.
Once you have it selected, you should see an additional menu appear towards the top of your screen. On the left side of that menu, click on Edit Image.
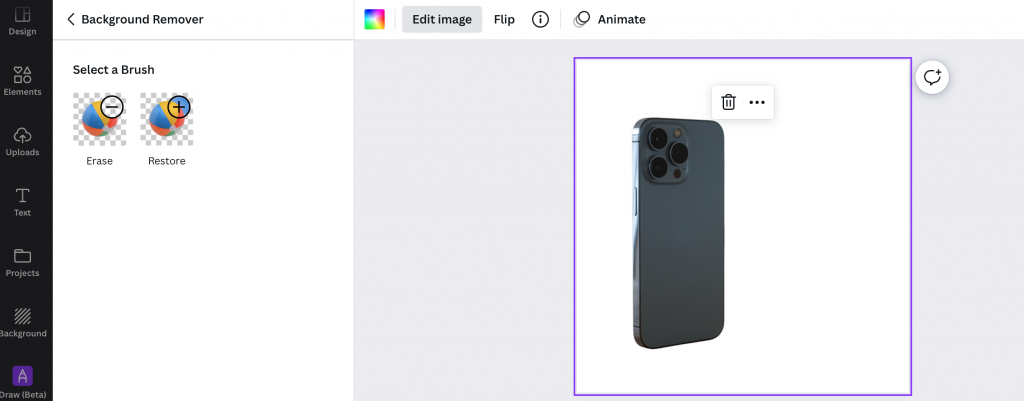
3. Select Background Remover in the image edit menu

Canva will automatically remove the background of your image. You can do it manually by working with the Erase brush within the Background Remover options

Now that you know how to erase part of an image on Canva, you’re ready to go and start making beautiful designs. With just a few clicks and drags, you can quickly make dramatic changes to any image.
-

Experienced tech journalist and freelancer with over 10 years of experience. Developed expertise in covering tools, new technologies and industry trends.


